Is making your own bacon jerky cheaper than store-bought? Is it difficult? How do you make bacon jerky?
I get these questions and more when people try my Bacon Jerky.
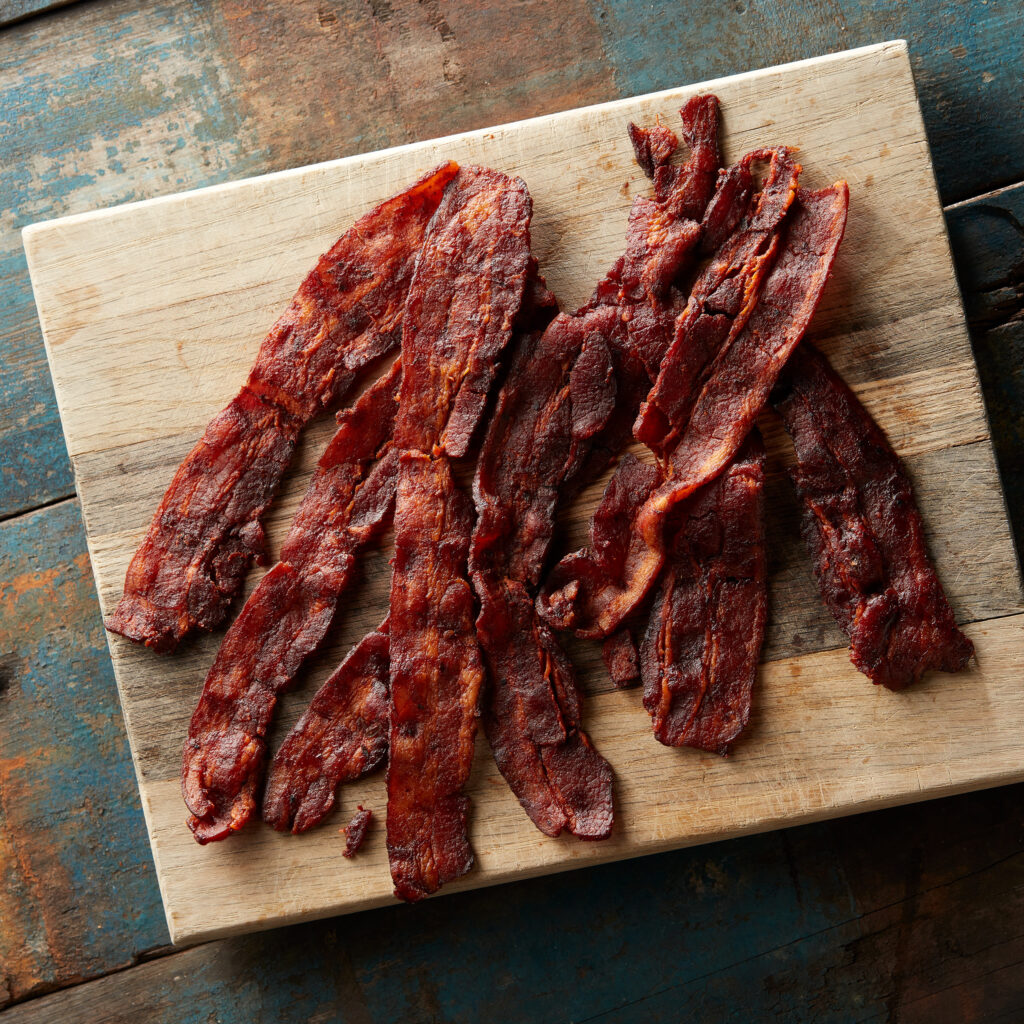

What is Bacon Jerky?
Bacon and beef jerky are very similar. Beef jerky is lean-trimmed meat, cut into thin strips, and dried to prevent spoilage. Bacon is pork strips, bacon, with all its fat and dried to prevent spoilage. Both are prepared similarly but the beef jerky has the fat trimmed because it does not cure well. The fat is left on the strips of bacon which gives it a bacony taste. Both can are cooked in an oven, on a smoker, or dehydrated to remove moisture. Making meat into jerky increases the shelf life which is why campers, hikers, and outdoors people carry it.
What Does Bacon Jerky Taste Like?
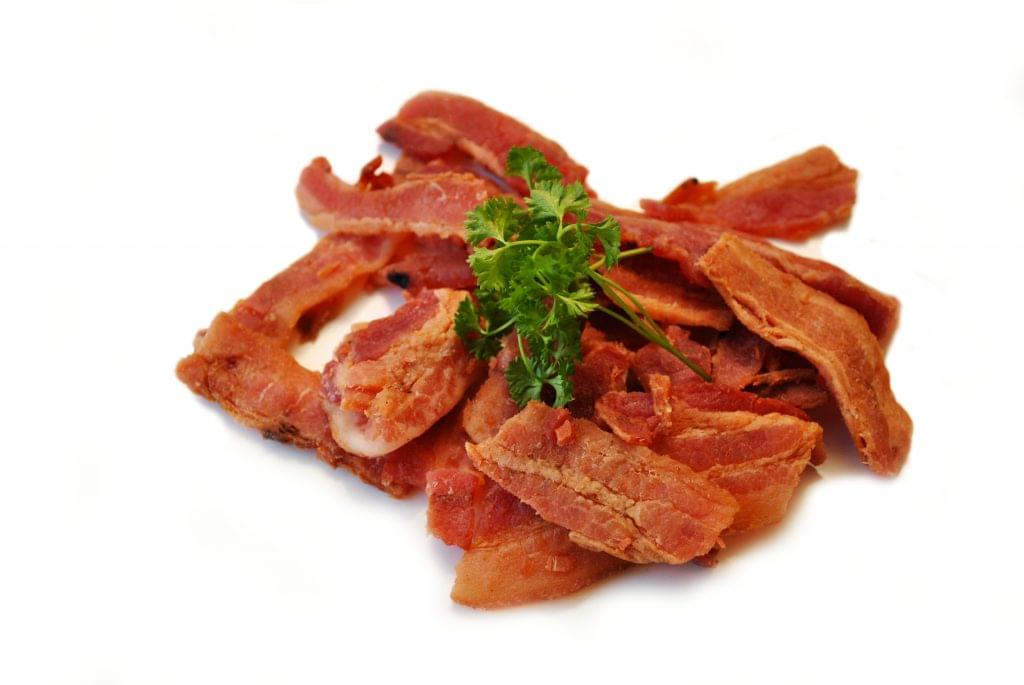
Bacon jerky tastes like REAL bacon. The flavor of bacon is salty and savory (Umami), the texture is crispy, chewy, and has a great flavor of fat. One thing is constant when making bacon jerky, no matter the flavor, it still tastes like bacon. Any type of jerky is a great start to a backyard BBQ or around a campfire waiting for the meal to get ready. https://www.youtube.com/embed/hd5V-BJwWlc?start=60
What Type of Bacon to Use for Jerky?
The first question is going to be what type of bacon is best and how much? Start with 2 pounds of uncured bacon. When buying pick the one with the least fat content.
Thick Cut vs Regular Bacon
Either thick cut or regular cut bacon can work well. Thick-cut bacon will give you a hearty chewy texture like beef jerky. Regular cut bacon will give you more of a crunchy texture like crisp bacon. Both are great but adjust your cook time, the thin strips of bacon will cooker quicker. Some people like to use “lardons”. Lardon is a fancy word for slab bacon sliced into matchsticks. The popular size is ¼-inch thick by 1-inch long. Small pieces of bacon to snack on. These can become addictive.
Is Homemade Jerky Cheaper Than Store Bought Jerky?
The main cost factor when making any type of jerky is meat. The water content, fat content, type of meat, quantity purchased and retailer purchased from all are important variables.
If you are a hunter, farmer, or rancher all these costs change and may drop to zero.
If you are buying your meat, making jerky your own jerky is not going to save you much money.
If you are making jerky because of the health benefits there are many reasons to make your own jerky.
When making jerky, the mouth-watering flavor and freshness are two great results. You will also know what is added to the meat and you will have bragging rights in the end result.
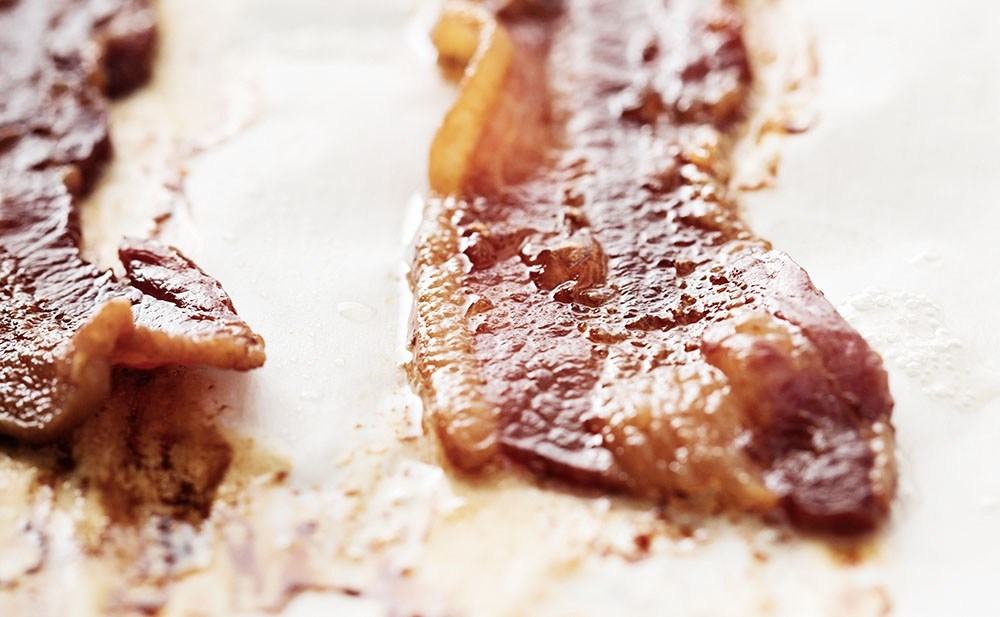

How to Make Bacon Jerky You will get better results using a smoker, it cooks the bacon on the surface rather than all the way through. Preparing the recipe is simple it will take 15-20 minutes. If you are planning on using a marinade preparation will take longer. Make sure you have plenty of time to make the jerky and that nobody needs to use the oven, smoker, or dehydrator. Cooking will take time which is why starting before people arrive is a great way to give the smell time to take over. Not everyone has a smoker available, it adds a layer of flavor, but we have provided other methods.
In the Smoker
You will want to make enough jerky to last 5-7 days so you do not have to keep making more.
Step #1 Use a baking rack placed on top of a lipped cookie sheet to catch grease.
Step #2 Separate the strips of bacon and apply dry rub seasonings to both sides. I usually cut the strips of bacon in half, so I have twice as many pieces of jerky. It lasts longer. I mix my dry ingredients in a bowl or tub and then place the bacon strips into it to coat both sides. A simple recipe might include some coarse black pepper, a little brown sugar, a small amount of garlic powder, and a pinch of salt. Put the bacon on the keeping at least a quarter-inch of space between each slice. Then gently brush on any liquid spices. For some heat or sweet coat add a small amount of chili sauce and/or a drop of honey or maple syrup. Place the cookie sheet in the refrigerator to keep cool until ready. We will give other recipes at the end of the article.
Step #3 Start your smoker. Add the charcoal. You want to smoke the bacon, not cook it. Put the fire and wood to one side of the smoker, the back, and keep the bacon on the front of the smoker so you can keep an eye on it. When preparing your smoker plan to smoke for 2-3 hours at a constant 190-200 degrees. The length of the cook is based on the thickness of the bacon and how much smoke you want it to absorb. The meat needs to reach an internal temperature of 165 degrees before the dehydrating process starts. This is the temperature at which bacteria are destroyed. After drying, bacteria become much more heat resistant according to the USDA Guidelines. Use a food thermometer for checking your temperature consistency.
Pro Tip: If using wood chunks or chips to flavor your smoke, the best woods for jerky, in our opinion, are apple, cherry, pecan, maple, peach, or hickory. By keeping the bacon to the front you can keep an eye on the doneness and the amount of grease accumulating in the pan. There should not be much grease since we used a lean cut of bacon. It also will be safer to remove any excess grease by not going over the fire.
Step #4 If using an oven, preheat it to 200 degrees or the lowest setting. If using a food dehydrator set it to 160-190 degrees. At this point, the slices of bacon are partly dried and need to be moved to the oven or dehydrator to complete the drying process. The longer the bacon is on the smoker the stronger the smoke flavor will be. If left on too long the smoke will overwhelm the other flavors, you want the smoke to compliment them. Take the cookie sheet out of the smoker and let it cool so you can work with the meat. Drain the grease from the drip pan and blot the bacon with paper towels to remove excess grease.
Step #5 Place the meat into the dehydrator or oven and cook for 2-3 hours longer. Check the doneness and removing excess grease every hour. While checking the meat flip the bacon over trying not to release much heat. Keep checking until your jerky reaches the desired texture. The process is a little quicker in a dehydrator.
Step #6 Is it done yet? For first-time jerky makers being able to tell when it is done can be a guessing game. If you take a piece of jerky out of the oven/dehydrator too early you will have moist jerky that is likely to spoil. Taking it out too late will leave you with meat that is too dry and tough. Holding in your fingers shake the piece of jerky. If the piece of meat feels elastic or limp, put it back in the smoker. Check your meat every at 45-minute intervals to ensure that it is not undercooked or overcooked.
Testing For Doneness
- Using clean tongs, take some jerky from the oven/dehydrator and let it cool.
- At room temperature try to bend the meat. Perfect jerky should not break but should bend
Check For Texture
- The jerky should feel softer and more tender than beef jerky and will have a greasy feel, like bacon!
- The higher fat content should allow you to bite right through it no tearing and gnawing
- Should be no moisture
How Does It Chew
- It should not crumble in your mouth – overcooked
- Should be gummy and leathery, easy to chew
- Having a crunch is OK
- The inside should have a softness to it
Step #7 After passing the ” doneness” test remove your food from the oven/dehydrator. Place it on a plate with paper towels to absorb grease, and blot the tops to remove extra grease. Let it cool completely.
Step #8 Keep any pieces you are keeping for later in plastic ziplock bags, vacuum bags, or food-safe containers. Put it in the fridge or the freezer if you want to keep it for longer. Do not pack in containers if you don’t have to. It is best to eat the bacon within the first few days.
Pro Tip:
- Trim all fat from the meat before marinating for longer-lasting jerky
- Use curing salt or celery juice powder to lengthen the life of the jerky
- Marinate closer to 24 hours for a more intense flavor
- Pork Tenderloin is a great cut of pork to use
- You can use turkey with this recipe if desired
The process for the three methods is very similar except for the appliance used and a few adjustments for the heat source.
Drying In The Oven
Step #1 The preparation process is the same as above.
Step #2 Preheat the oven to 170-200 degrees. We want to ” dry” the meat not cook it.
Step #3 Place the cookie sheet into the oven. The length of cooking time will is determined by the thickness of the meat. Plan on 3-8 hours. You will finish cooking in the oven, where we moved it to the oven in the smoking method.
Step #4 At 2 hours start checking the doneness. Test at 45-60 minute intervals and flip the meat for even cooking.
Drying In A Dehydrator
Using a food dehydrator makes for an easy process.
- Spread the bacon out on the trays
- Turn the unit on, set temperature to 190 degrees
- Wait for the bacon to completely dry out.
Your jerky will be done in about 3-6 hours, depending on the thickness of the pieces. Consider getting a food dehydrator if you plan on making jerky often. They are not too expensive. While smoking meat produces the best product, it is the most time-consuming. The benefit of using a smoker is your meat will have a great smoky flavor. Using a food dehydrator is much easier.

How to Store Jerky for Later
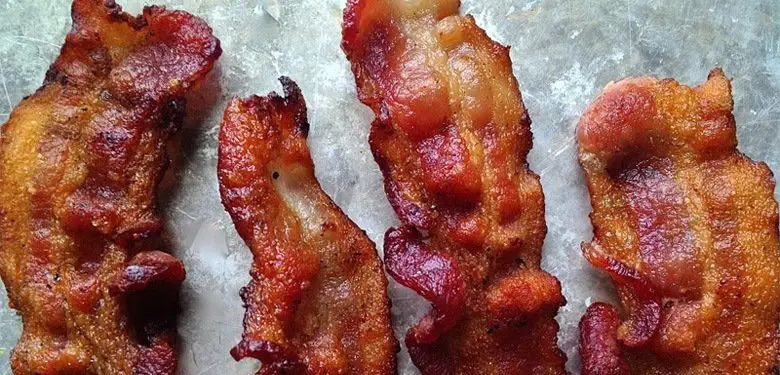
Many people make jerky with the intent of storing some until later. Great idea! But how do you store jerky safely to be eaten later? If you are new to making jerky learning about storage, shelf life, going bad, and whether to freeze it is a good idea. Some people suggest using curing salt as an ingredient to prevent bacteria from growing. This can aid to draw out moisture, and preserve the product longer. That is up to you, but storing jerky is not as simple as leaving it out so people can nibble on it. If you do not store the jerky properly, moisture can get inside the bag or container. Sooner or later mold will start growing on the surface, and the jerky may become hard or develop a bad smell. If it is not in a resealable bag or air-tight container, blot off any excess grease, and transfer it to one. Keep it in a dark and cool place, like the pantry or a kitchen cabinet. Using a vacuum sealer machine and putting it in the fridge will increase self-life.
Can you freeze the jerky?
Freezing the jerky will slightly change the texture of the meat so some people do not recommend it. It is best to test a small amount. The best choice for storage is a resealable freezer bag or vacuum-sealed bag in the freezer. A vacuum-sealed bag in the pantry will last about 1 – 2 months and the fridge may be 4 months or longer. These are estimates only.

FAQ AND EXTRA TIPS
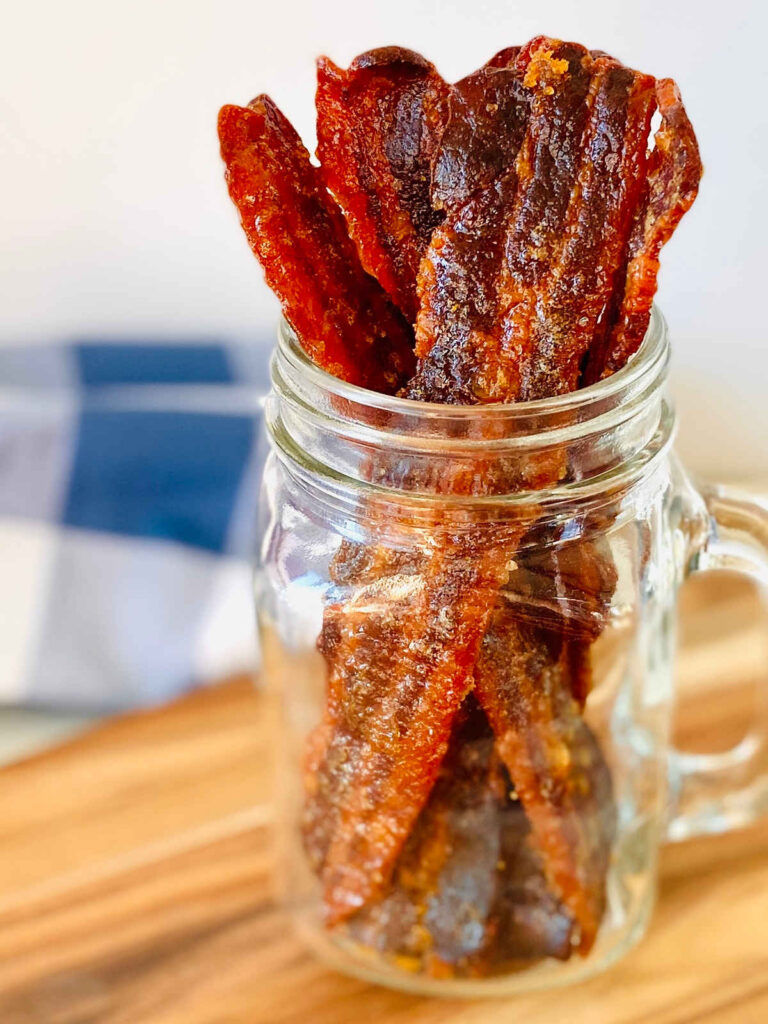
What does bacon jerky taste like? Bacon jerky has a delicious chewy texture and takes on the flavor of your marinade, sauce, or seasoning. For example, the Sriracha bacon jerky recipe has a delicious balance of sweet and spicy.
Bacon Jerky vs Candied Bacon?
These terms are sometimes used interchangeably. Yet, bacon jerky is generally known for a more chewy texture and is cooked low and slow. Candied bacon often uses a quicker cook time and produces a more crispy texture. If cooked well, they are both absolutely delicious options!
Do bacon jerky and candied bacon need to be refrigerated?
Yes. Bacon is perishable and it is best to keep your jerky and candied bacon refrigerated. It should be consumed within 2-3 days after making it.
MORE RECIPES
Here is a Basic Recipe for Honey Sriracha
Ingredients
- 10 oz thick-cut bacon (sub regular sliced if preferred) (8 slices)
- 1/3 cup Sriracha Sauce, for an extra kick
- 2 tbsp honey
- 1/2 tsp brown sugar
- coarse ground pepper to taste
- salt to taste
- more brown sugar to taste
In a bowl, whisk to combine spicy sriracha, honey, and brown sugar. Baste each side of your bacon with sweet chili hot sauce.
If you don’t have a baster, you can also dip each slice of bacon in the sauce.
Dust each slice of bacon with coarse ground pepper and salt to taste.
If you prefer a sweeter finished product, also dust with a pinch of brown sugar.
Bacon Jerky
This bacon recipe is sweet, spicy and I promise you won’t be able to stop eating it!
Ingredients
- 10 slices thick-sliced bacon (12 oz package)
- 1/2 cup lightly packed Brown sugar (light or dark)
- 2 tbsp Chili Sauce (Optional)
- 1/4 tsp cayenne pepper (optional)
- 1/4 cup lightly packed brown sugar (light or dark) Optional: For sprinkling
Candied bacon jerky
Spicy candied jerky baked in the oven
Ingredients
- 1/2 cup light brown sugar
- 1/4 tsp cayenne
- 10 strips bacon, reduced-sodium bacon that my grocery store sells, nothing fancy
Maple Bacon Jerky
This Bacon recipe yields a tender, sweet, spicy, and slightly salty snack. Perfect for snacking. Ingredients
- 1 pound bacon regular cut
- 2 tbsp maple syrup
- 2 tbsp chili sauce sauce
Keto Black Pepper Jerky
Bacon can be its own meal when sprinkled with this savory and spicy dust before baking in the oven. It’s also the perfect snack when you’re on the go.
Ingredients
- 1 tablespoon garlic powder
- 1 tablespoon ground cumin
- 1 tablespoon smoked paprika
- 1 tablespoon chili powder
- 1 ½ teaspoon freshly ground blk pepper
- 1 pound uncured center-cut bacon
TERIYAKI BACON JERKY
Tender bacon strips marinated in a sweet and tangy homemade teriyaki sauce are perfect for road trips, camping, and snacking.
Ingredients
TERIYAKI MARINADE
- 1 cup soy sauce
- ½ cup dark brown sugar
- ¼ cup rice vinegar
- 1-inch knob fresh ginger (sliced)
- 4 cloves garlic (sliced)
- 1 Tablespoon sesame oil
- 1 Tablespoon sesame seeds
- 1 teaspoon black pepper

WRAP UP
We have covered three methods of drying bacon for jerky and provided some starter recipe ideas.
Bacon Jerky is one of the best and tastiest snacks you could ask for. The process of making jerky also has the added benefit of preserving your snack until later.
There are endless combinations of spices that work well. Testing and tasting is the best way to find your favorite.

